
How to create a Grid Layout
How to create a Grid? Piotnet Grid Builder does not just offer you fixed grid layouts; it gives you the power to create almost any types of grid layout you need for your project with various functions: masonry, carousel, animation, or boost the speed of loading by cache technique, etc.
We provide many tools and options for you to design any desired posts grid, categories grid, or taxonomy terms grid layout.
Detailed Tutorials to create a Grid
You can choose to import our pre-made demos or create new grids yourself as following steps.
- “Grid” displays your custom and available cards. Firstly, prepare your first main material: a Card (https://piotnetgrid.com/docs/create-a-card/)
- Go to your WP Dashboard > Piotnet Grid > Grids > Add New > Add Grid Title > Edit With Piotnet Grid
- Piotnet Grid Editor will be launched. Drag and Drop the Grid Widget and other Widgets from Editor Panel to design your Grid

General Grid Settings
Grid Query
Specify the exact information that will be displayed in the grid.
- Source
There are two main source options:
+ Posts, Product, Custom Post Type – Apply for Posts Grid
+ Taxonomy Terms (Categories, Product Categories, Custom Taxonomy Terms) – Apply for Terms Grid
- Card Template
Select one of your created Card Templates (Mandatory)
- Custom Card
In Piotnet Grid version 2.0, you can customize your Card by HTML or PHP
Click on a Grid > Settings Tab > Custom Card> Add post classes to the card
- Current Query
Enable this feature if you want to get posts on the archive page
- Custom Query
You can custom query like array (“post_type”=>”post”), document https://developer.wordpress.org/reference/classes/wp_query/
A few available custom queries:
Related Posts Query
‘category__in’ => wp_get_post_categories(get_the_ID()),
‘posts_per_page’ => 5,
‘post__not_in’ => array(get_the_ID())
)
Get related posts with ACF relationship
WooCommerce Best Seller Query
array(
‘posts_per_page’ => 10,
‘post_type’ => ‘product’,
‘post_status’ => ‘publish’,
‘ignore_sticky_posts’ => 1,
‘meta_key’ => ‘total_sales’,
‘orderby’ => ‘meta_value_num’,
‘order’ => ‘DESC’,
)
A custom query to show only in-stock product
array(
‘post_type’ => ‘product’,
‘meta_query’ => array(
array( ‘key’ => ‘_stock_status’,
‘value’ => ‘instock’
)
)
)
(In another way to show only in-stock product: access to WP Dashboard > WooCommerce > Settings > Products Tab > Inventory > Check “Out of stock visibility Hide out of stock items from the catalog”
- Wishlist Posts
Add the Wishlist widget to your card and then enable this feature to get wishlist posts. Click here for detailed tutorials.
- Recently Viewed Posts
Shows recently viewed posts, pages, products, and any custom post type
Layout
- Columns: Show the number of displayed columns.
- Columns Gap: Space between Columns with pixel unit.
- Row Gap: Space between Rows with pixel unit.
Masonry Enable:
You can get the Masonry layout as in our demo.

Masonry Layout Illustration
Carousel:
This Grid Layout allows you to quickly convert your product grid into a completely customizable carousel. Simply choose the “Carousel” layout and you’ll have a product slider.
Various choices allow you to fine-tune your carousel’s behavior:
- Disable function by responsive
- Number of slides (products) to show
- Number of slides to scroll
- Autoplay or not
- Scrolling Speed
- Infinite Loop <click here for more information>
- Custom Next / Previous Button
Edit Grid > Navigation = None or Dots > Advanced Tab > Custom ID: example “piotnetgrid-carousel”
Create a Text / Image / Button or Icon widget > Advanced Tab > Trigger Prev/Next Action for Grid Carousel > Enable > Grid Custom ID: enter the Grid Custom ID which you added “piotnetgrid-carousel” > Select Action: Next or Previous
Other functions
- Card Animation: Trigger Animation feature, you can customize Effects, Speed, Delay (ms)
- Cache: Enable Boost Cache Loading for the fastest 40ms loading time in ideal conditions ( users and hosting location in the same country and stable internet connection)
- No results found alert: Customize the displayed content when returning no results.
How to create a complex grid layout
Below the picture is a sample of a complex grid layout: various cards that have different font sizes and image ratios. Following is a step-by-step guide on how to make a similar one.

- Create 3 card templates as designed
- Create a section containing 2 columns, set width = 50% for each column
- Drag and Drop 3 Grid widgets into the columns. The first Grid is on the left column and 2nd Grid, 3rd Grid is on the right Column. You can fully define all settings for the first Grid, then duplicate the grid and change the settings to have the 2nd and 3rd ones.
- The first Grid Query Settings:
Posts Per Page = 4;
Last posts skipping quantity on each page of the pagination = 3
- The second Grid Query Settings:
Posts Per Page = 4;
First posts skipping quantity on each page of the pagination = 1;
Last posts skipping quantity on each page of the pagination = 2
- The third Grid Query Settings:
Posts Per Page = 4;
First posts skipping quantity on each page of the pagination = 2;
Last posts skipping quantity on each page of the pagination = 0
In Layout tab: Set Columns = 2
Embed Grid
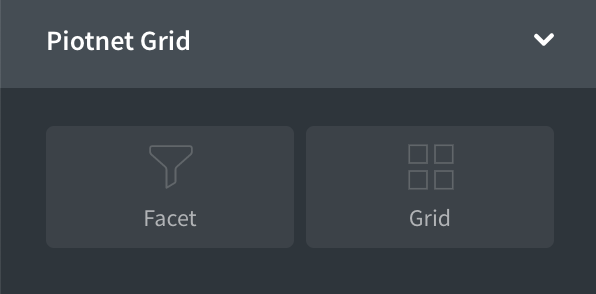
We created a Grid Block (Widget, Element) for Gutenberg, Elementor, and Oxygen. This block (widget, element) help you embed the Grid by selecting the Grid which you created by Piotnet Grid.
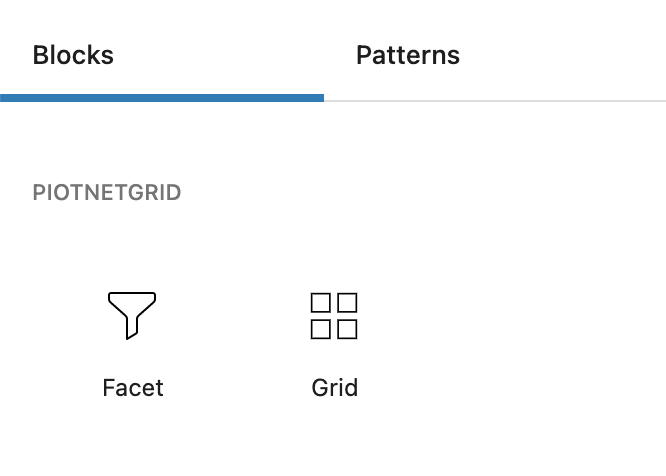
Elementor Widget
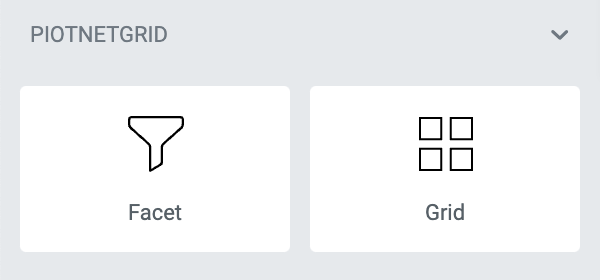
Oxygen Builder Element
In addition, when you create a grid, Piotnet Grid automatically generates a shortcode for displaying it anywhere on your website.